1
2
3
4
5
6
7
8
9
10
11
12
13
14
15
16
17
18
19
20
21
22
23
24
25
26
27
28
29
30
31
32
33
34
35
36
37
38
39
40
41
42
43
44
45
46
47
48
49
50
51
52
53
54
55
56
57
58
59
60
61
62
63
64
65
66
67
68
69
70
71
72
73
74
75
76
77
78
79
80
81
82
83
84
85
86
87
88
89
90
91
92
93
94
95
96
97
98
99
100
101
102
103
104
105
106
107
108
109
110
111
112
113
114
115
116
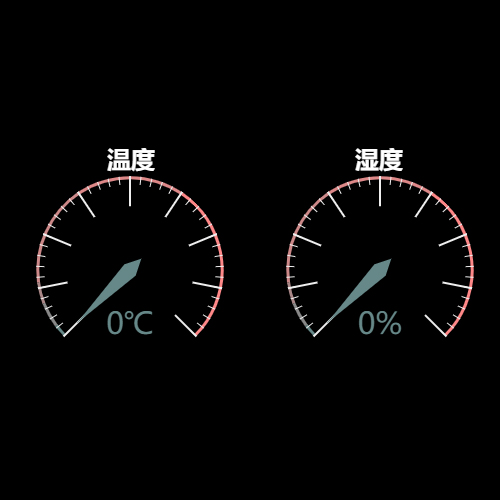
| <template>
<div class="sensor_line" style="margin-top: 50px;">
<div id="chart" class="sensor_meter"></div>
<span id="hide_temp" style="display:none">0</span>
<span id="hide_humidity" style="display:none">0</span>
</div>
</template>
<script>
export default {
name: "Sensor",
data() {
return {
temp: 0,
humidity: 0
}
},
mounted() {
this.init();
setInterval(this.refresh_data, 3000);
},
methods:{
init(){
var chart = this.$echarts.init(document.getElementById("chart"));
var option = {
title: {
text: '温度 湿度',
x: 'center',
textStyle: {
color: '#fff',
fontSize: 24
}
},
grid: {
x: 20,
y: 30,
x2: 20,
y2: 10,
},
series: [{
name: '温度',
type: 'gauge',
center: ['25%', '50%'],
min: 0,
max: 60,
splitNumber: 8,
axisLine: {
lineStyle: {
color: [
[12 / 400, '#668888'],
[35.4 / 400, '#888888'],
[55.4 / 400, '#aa8888'],
[150.4 / 400, '#cc8888'],
[250.4 / 400, '#dd8888'],
[400 / 400, '#ff8888']
],
width: 3,
}
},
axisLabel: {
show: false,
},
detail: {
formatter: '{value}℃',
offsetCenter: [0, '60%'],
},
data: [{
value: this.temp
}]
},{
name: '湿度',
type: 'gauge',
center: ['75%', '50%'],
min: 0,
max: 100,
splitNumber: 8,
axisLine: {
lineStyle: {
color: [
[12 / 400, '#668888'],
[35.4 / 400, '#888888'],
[55.4 / 400, '#aa8888'],
[150.4 / 400, '#cc8888'],
[250.4 / 400, '#dd8888'],
[400 / 400, '#ff8888']
],
width: 3,
}
},
axisLabel: {
show: false,
},
detail: {
formatter: '{value}%',
offsetCenter: [0, '60%'],
},
data: [{
value: this.humidity
}]
}]
};
chart.setOption(option);
},
refresh_data(){
this.temp = document.getElementById("hide_temp").innerText;
this.humidity = document.getElementById("hide_humidity").innerText;
this.init();
}
}
}
</script>
<style scoped>
.sensor_meter {
width:500px;
height:250px;
}
</style>
|